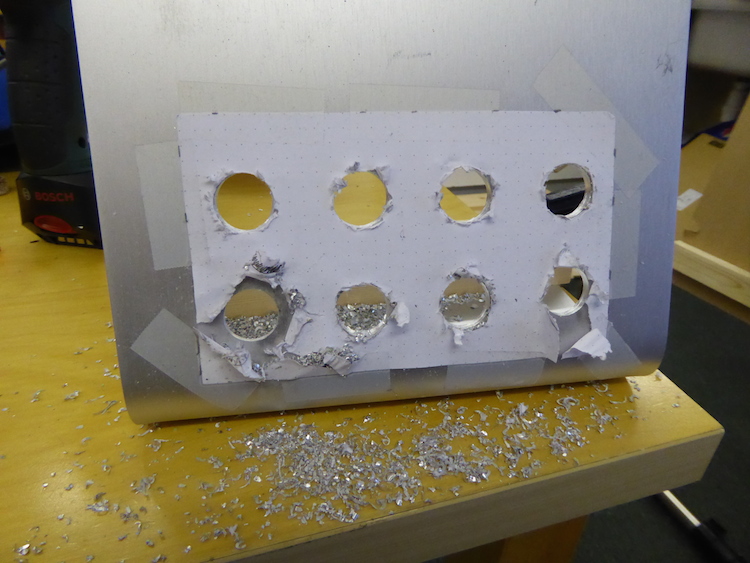
Step one was to draw the positions of the buttons on a piece of paper. I secured the drawing with some tape. 
I first drilled pilot holes, then used a 16mm metal drillbit to widen the hole.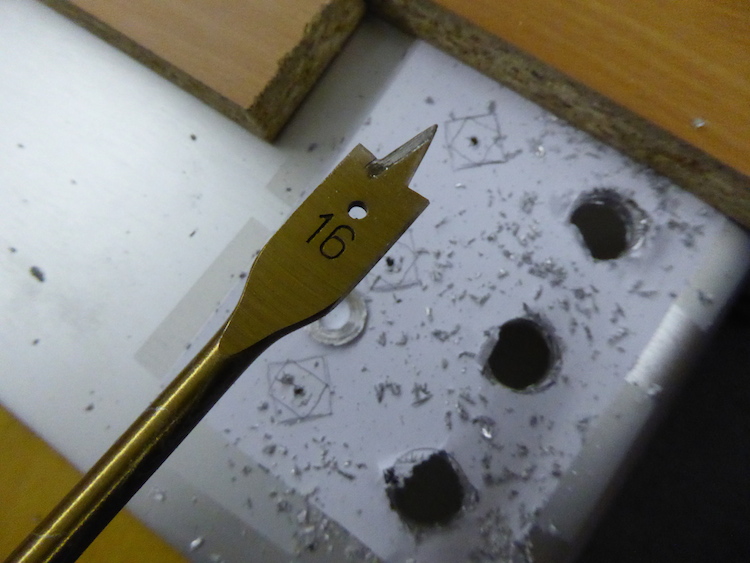
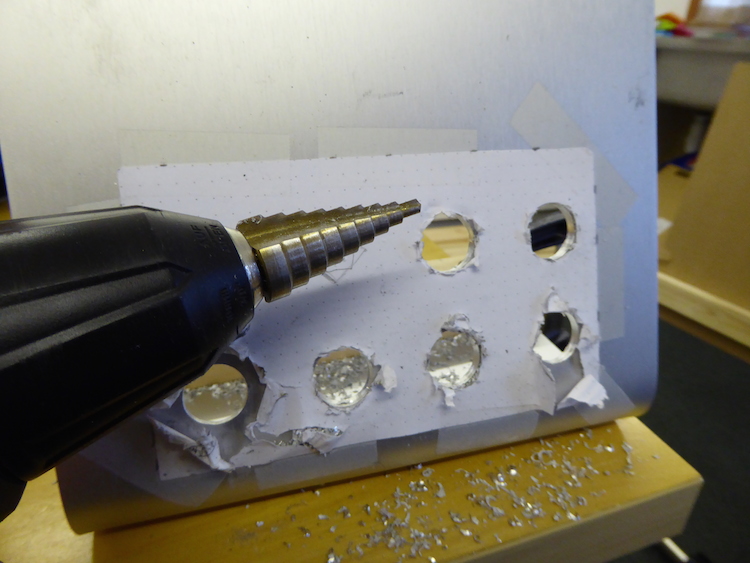
A step drillbit was then used to accurately widen the button holes to the right size.
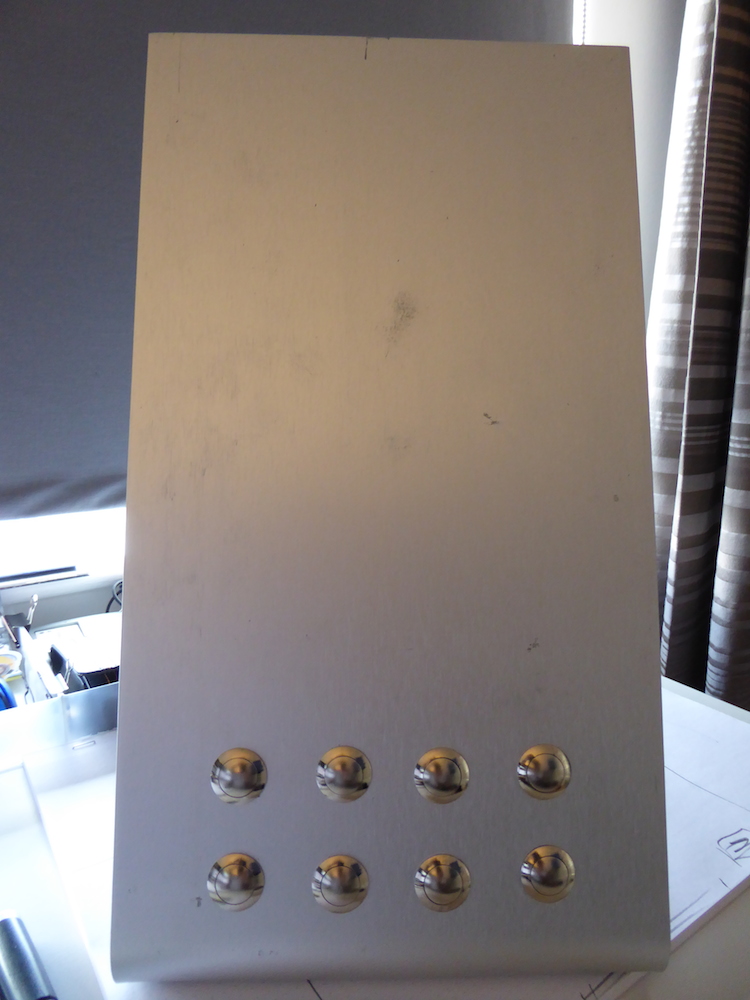
An additional hole was added for the tablet charging cable.

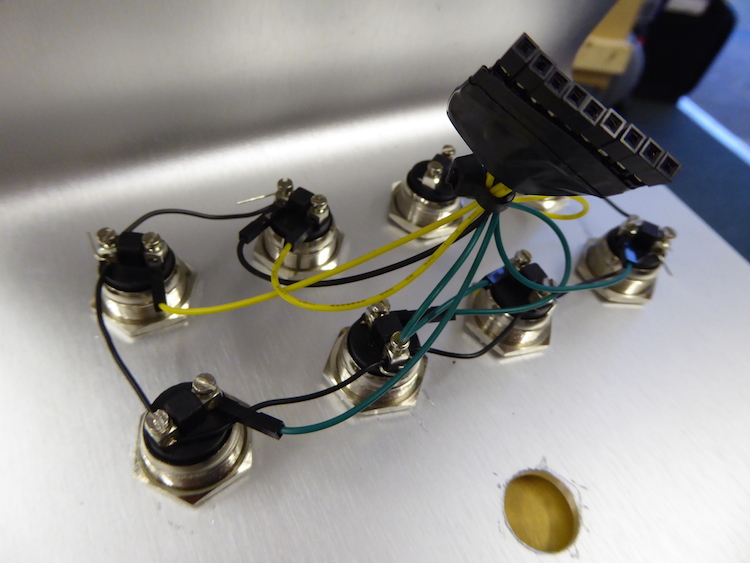
Wire harness in place.
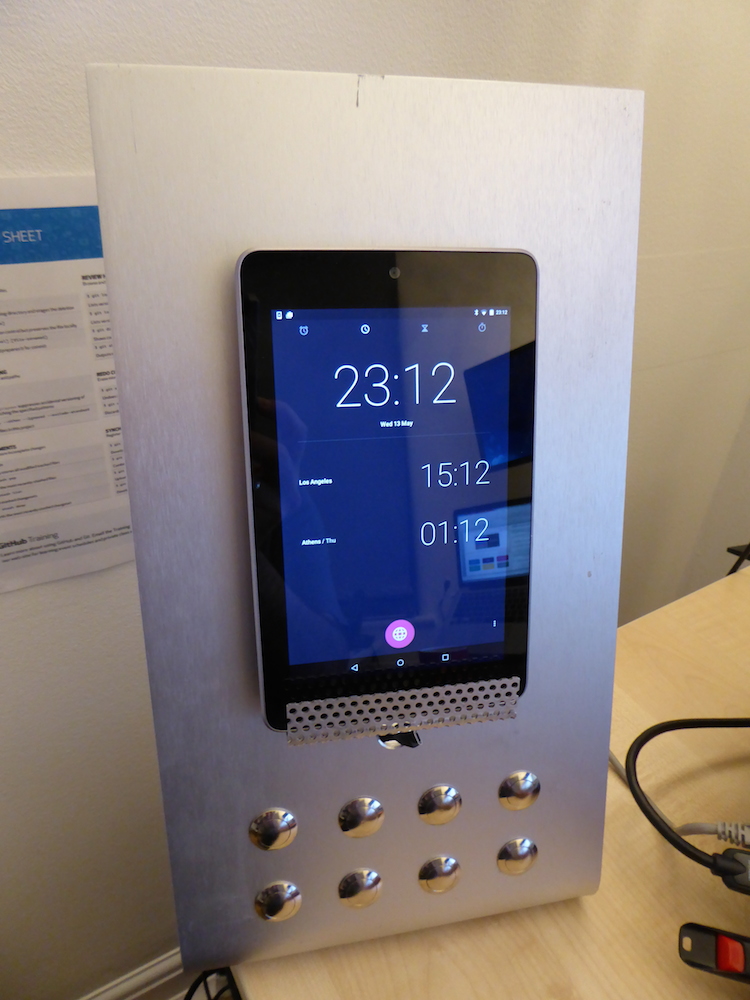
The tablet stand was created from scratch, using a perforated steel sheet I had in the workshop.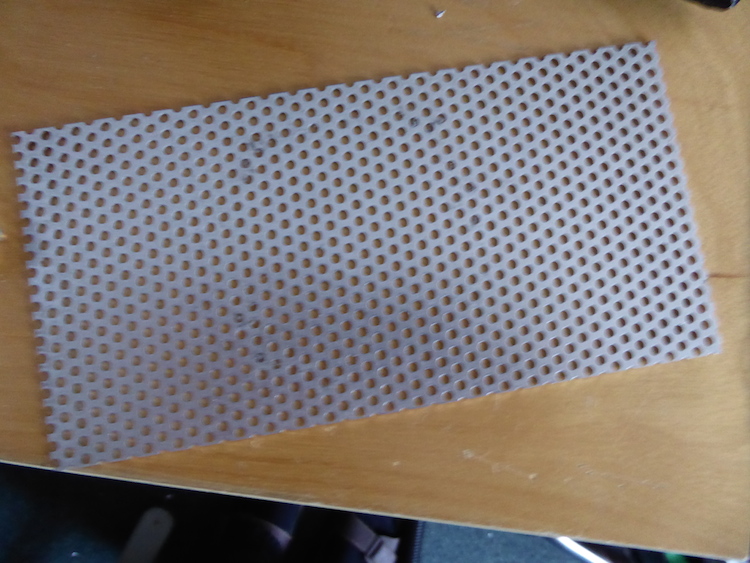
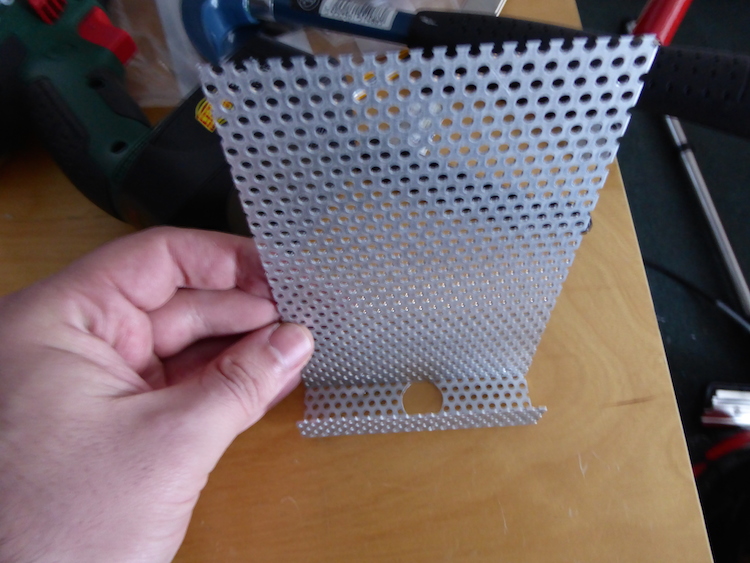
I drilled a hole first and then, using the vice and a piece of wood as a guide, I gave it the right shape. The gap is wide enough to accommodate even a 10″ tablet.
For now it holds an old Google Asus Nexus tablet
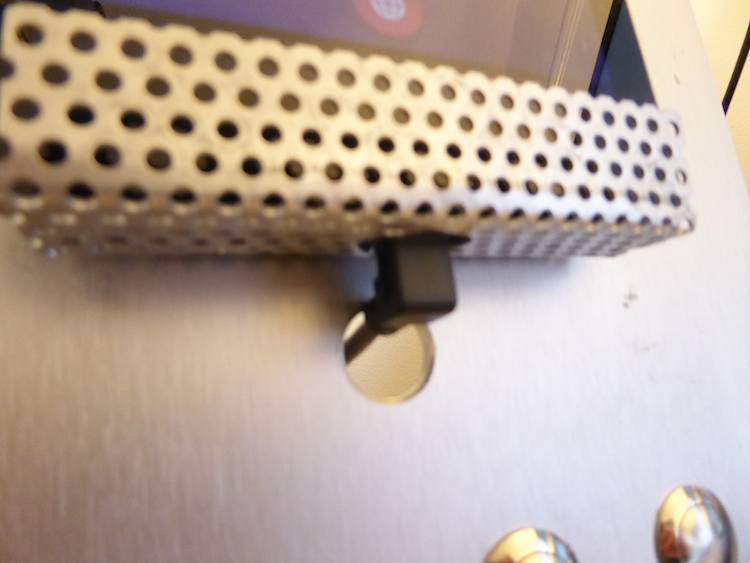
An angled USB charging cable makes the connection looking quite neat.